10 Dribbling Drills to Improve Your Handle Fast
10 Dribbling Drills to Improve Your Handle Fast
The complete guide to leveling up your ball handling from beginner to advanced
Want to break ankles like Kyrie Irving? Create space like Steph Curry? It all starts with one thing: a killer handle. Good dribbling isn't just about looking flashy—it's the foundation that unlocks everything else in your game.
The good news? Ball handling is one of the most trainable skills in basketball. With the right drills and consistent practice, you can dramatically improve your handle in just a few weeks. No fancy equipment needed—just a ball, some space, and 15-30 minutes a day.
In this guide, we've compiled 10 progressive dribbling drills that will take you from shaky handles to confident ball control. Whether you're just starting out or looking to add advanced moves to your arsenal, there's something here for you.
Why Dribbling Is the Foundation of Your Game
Before we dive into the drills, let's understand why ball handling deserves so much of your practice time:
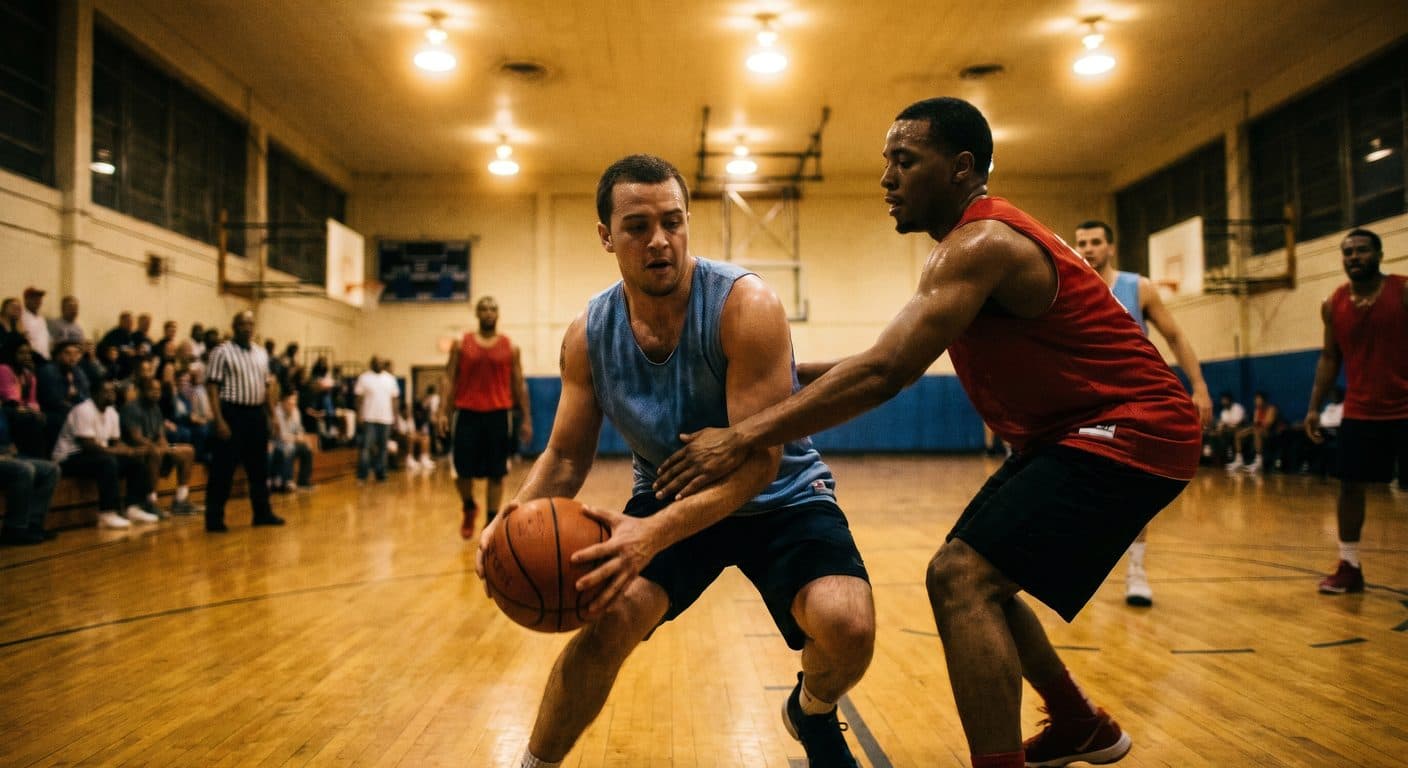
- Create space: A tight handle lets you blow by defenders and create open shots for yourself and teammates
- Protect the ball: Good dribblers rarely turn it over—they keep the ball safe under pressure
- Build confidence: When you trust your handle, you play without hesitation
- Control the tempo: Great ball handlers dictate the pace of the game
- Open up your scoring: You can't finish at the rim if you can't get there first
3 Golden Rules Before You Start
- Work Your Weak Hand (A Lot) — If you can only go right, defenders will force you left every time. Spend at least 50% of your dribbling practice on your non-dominant hand. It will feel awkward at first—that's exactly why you need to do it.
- Keep Your Head Up — If you're staring at the ball, you can't see the court. Train yourself to dribble by feel so your eyes are free to read the defense and find open teammates.
- Stay Low — A low dribble is a protected dribble. Bend your knees, get your hips down, and keep the ball below your waist. The lower the ball, the harder it is to steal.
The 10 Drills: From Beginner to Advanced
These drills are organized by difficulty. Master each level before moving to the next. Quality reps beat sloppy speed every time.
Pound Dribble
The foundation of all dribbling. This drill builds strength in your fingers and wrists while teaching you to control the ball with authority. If you can't pound it, you can't protect it.
How to do it
- Stand in an athletic stance with knees bent
- Dribble the ball as hard as you can with one hand
- Keep the ball at knee height or lower
- Use your fingertips, not your palm
- Focus on a quick, snappy bounce
- Switch hands after 1 minute
Front-to-Back Dribble
This drill develops your ability to control the ball in different positions around your body. Essential for changing direction and protecting against reaching defenders.
How to do it
- Start in an athletic stance
- Dribble the ball in front of you
- Push it back between your legs (not through—just behind you)
- Pull it back to the front
- Keep a consistent rhythm
- Work both hands
Seated Dribble
By sitting down, you eliminate your legs and force your hands to do all the work. This isolates hand strength and control in a way that standing drills can't.
How to do it
- Sit on the floor with legs extended
- Dribble as low and fast as possible
- Work around your body: left side, right side, in front
- Try figure-8 patterns around your legs
- Keep your back straight
- Challenge yourself to go faster each session
Crossover
The crossover is the most fundamental move for changing direction and beating defenders. A quick, low crossover can freeze a defender and create an open lane to the basket.
How to do it
- Start dribbling with your right hand
- Push the ball hard across your body to your left hand
- Keep the crossover low (below the knee)
- The ball should bounce once between your feet
- Explode in the new direction as you catch it
- Alternate starting hands
Between the Legs
The between-the-legs dribble protects the ball with your leg while changing direction. It's safer than a crossover against aggressive defenders.
How to do it
- Step forward with your left foot
- Dribble the ball through your legs from front to back
- Catch it with your left hand behind you
- Push off and explode in the new direction
- Practice both legs
- Keep your head up throughout
Behind the Back
The behind-the-back dribble is another protected change of direction. It's especially useful when driving baseline or when a defender cuts off your crossover.
How to do it
- Start dribbling with your right hand
- Wrap the ball around your back to your left hand
- Keep the ball low and tight to your body
- Don't let it float or bounce high
- Catch clean with the opposite hand
- Practice both directions
Cone Slalom
This drill simulates game situations by forcing you to change direction around obstacles. It combines all your moves into a fluid, dynamic sequence.
How to do it
- Set up 5-8 cones (or any objects) in a line, 3-4 feet apart
- Dribble through the cones using different moves
- Go right around one cone, left around the next
- Use crossovers, between-the-legs, or behind-the-back
- Focus on tight, controlled changes of direction
- Time yourself and try to beat your record
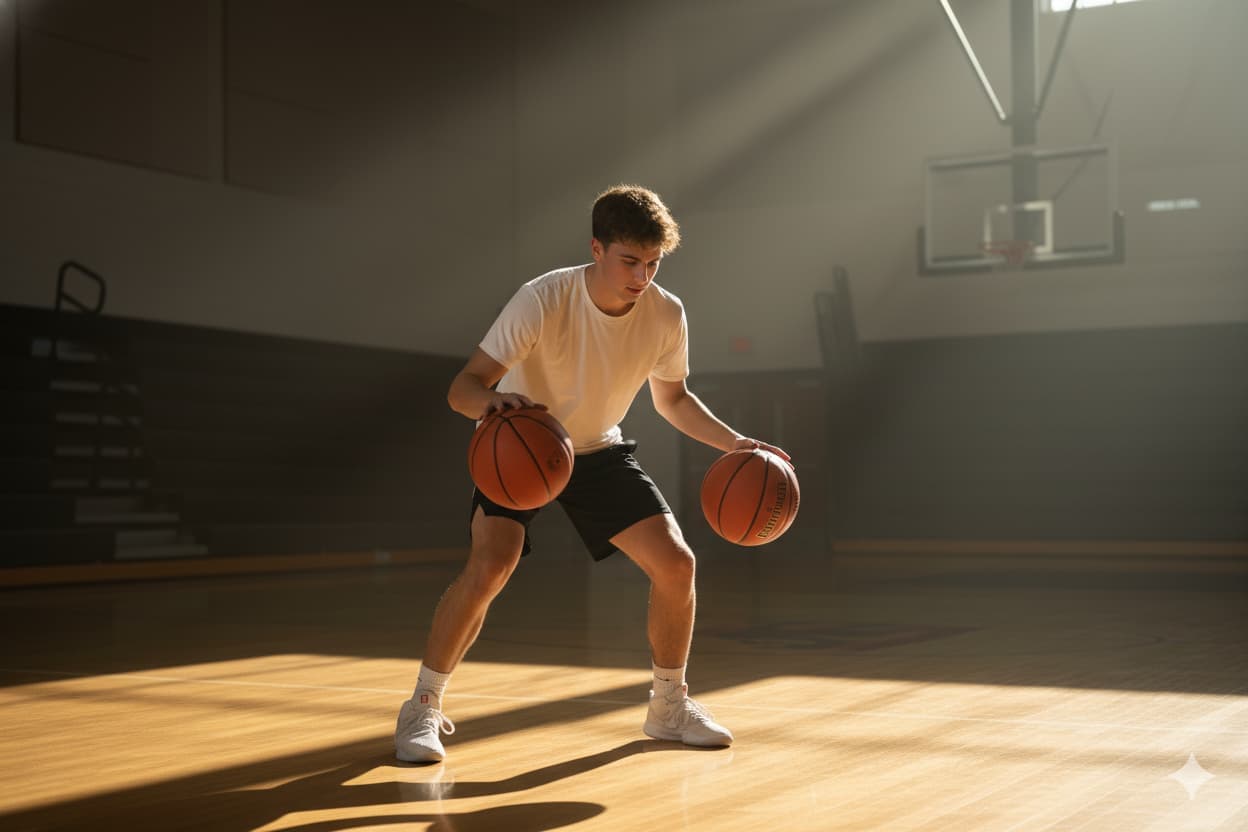
Two-Ball Dribble
Dribbling two balls simultaneously forces both hands to work independently. It's uncomfortable at first, but it accelerates your weak hand development like nothing else.
How to do it
- Hold a basketball in each hand
- Start by bouncing both at the same time (synchronized)
- Progress to alternating bounces
- Try different rhythms: fast-fast, slow-slow, mixed
- Move forward, backward, and side to side
- Keep both balls at the same height
Tennis Ball Drill
This drill develops your peripheral vision and hand-eye coordination. You'll learn to dribble without looking at the ball—a crucial skill for reading defenses.
How to do it
- Hold a tennis ball in one hand, basketball in the other
- Dribble the basketball while tossing the tennis ball
- Toss the tennis ball up, catch it, repeat
- Progress to tossing against a wall and catching
- Add movement: walk forward while doing the drill
- Switch the basketball to your other hand
Combo Move Challenge
The ultimate test: chaining multiple moves together in one sequence. In games, you rarely use just one move—you need to combo them fluidly to keep defenders guessing.
How to do it
- Start at half court with the ball
- String together 3-4 moves in sequence
- Example: crossover → between the legs → behind the back → finish
- Maintain speed and control throughout
- Create your own signature combos
- Practice until they become automatic
Sample Weekly Training Program
Here's how to structure your dribbling practice throughout the week. Consistency beats intensity—15 focused minutes daily is better than one hour of sloppy reps.
| Day | Drills | Time | Focus |
|---|---|---|---|
| Monday | Drills 1-4 | 15 min | Fundamentals |
| Tuesday | Rest or light shooting | — | Recovery |
| Wednesday | Drills 4-7 | 20 min | Moves |
| Thursday | Rest or light shooting | — | Recovery |
| Friday | Drills 5, 6, 8, 9 | 20 min | Advanced |
| Saturday | Rest | — | Recovery |
| Sunday | Full routine + Drill 10 | 30 min | Complete |
Frequently Asked Questions
How long does it take to see improvement?
With consistent daily practice (15-20 minutes), most players notice significant improvement within 2-3 weeks. Your weak hand will take longer—expect 4-6 weeks of focused work before it feels natural. The key is daily reps, not marathon sessions.
Should I practice dribbling before or after shooting?
Either works, but many coaches recommend dribbling first. Ball handling drills serve as a great warm-up, getting your hands and coordination ready for shooting. Plus, you'll be fresher for the skill that requires more fine motor control.
What's the biggest mistake beginners make?
Going too fast before mastering the basics. Players want to do flashy crossovers before they can even pound dribble consistently. Slow down, nail the fundamentals, and speed will come naturally. Also, neglecting the weak hand is extremely common—and it will limit your game long-term.
Do I need special equipment?
Nope! All you need is a basketball and a flat surface. Cones are helpful for the slalom drill but you can use any objects (water bottles, shoes, etc.). A tennis ball for drill #9 is optional but recommended. Two basketballs for drill #8 is ideal but not essential to get started.
Can I do these drills indoors?
Most of them, yes! Drills 1-6 and 8-10 can all be done in a basement, garage, or any room with enough ceiling height. Just be mindful of neighbors below if you're in an apartment. The slalom drill (7) needs a bit more space but can be adapted for smaller areas.
Time to Get to Work
You now have everything you need to transform your ball handling. But reading about drills won't make you better—doing them will. Start today with drills 1-3, and add more as you progress.
Remember:
- Consistency beats intensity—show up every day
- Your weak hand needs double the work
- Game speed comes from slow, perfect reps first
- Track your progress to stay motivated
Speaking of tracking progress—knowing where you started and seeing how far you've come is the ultimate motivation to keep grinding.
🏀 HoopsTrackR — Track Your Game, Elevate Your Performance
See your improvement in black and white and stay motivated to keep grinding
You might also like
How to Reduce Basketball Turnovers with Stats Tracking
Every turnover costs about 1 point. Learn to measure your turnovers by type, turnover rate and A/TO ratio to target the real cause.
Offensive rebounding in basketball: score 8 extra points per game from second chances
Teams that crash the glass score 8 extra points per game in second chances. OREB%, 3 core techniques, 4 drills and a 4-week program to become a reliable offensive rebounder.
Improve Your Free Throws: From 60% to 80% in 6 Weeks
The free throw is the only fully controllable shot in basketball. The BEEF method, a pre-shot routine, 4 drills and a 6-week program to go from 60% to 80%.